Microsoft Teams is a powerful collaboration tool offered by Microsoft. You can either use it for free or opt to purchase a Microsoft 365 license. However, if you’re using the free version of Microsoft Teams, you won’t have access to the same admin center that corporate users do. Those with premium or business accounts can access the Microsoft Teams admin section, which allows them to manage teams, tabs, file permissions, and more. In this guide, we’ll walk you through the steps for performing a Microsoft Teams admin center login, whether through Teams Admin or Office 365. Keep reading to learn more!
How to Access Microsoft Teams Admin Center Login
With over 145 million active users, Microsoft Teams is a highly popular tool for both businesses and educational institutions. As an admin, global, or Teams Service Administrator, you may need to update the Teams software that your organization uses for collaboration. This could involve automating processes to manage various teams through PowerShell or the Admin Teams Center. In the following section, we’ll guide you on how to log in to the Microsoft Teams admin center and efficiently manage your admin center.
You can access the admin center directly through Microsoft’s official website or via the Microsoft Office 365 admin center. To do so, you’ll need the following:
- A web browser with an active internet connection.
- Access to the admin user email & password.
Note: If you’re unsure which email is linked to your Microsoft Teams admin account, use the email address associated with the license purchase. Once you have access to the Microsoft Teams admin area, you can add more admin users as needed.
Method 1: Through Microsoft 365 Administration Page
To log in to the Office 365 admin center and access the Microsoft Teams admin center, follow these steps:
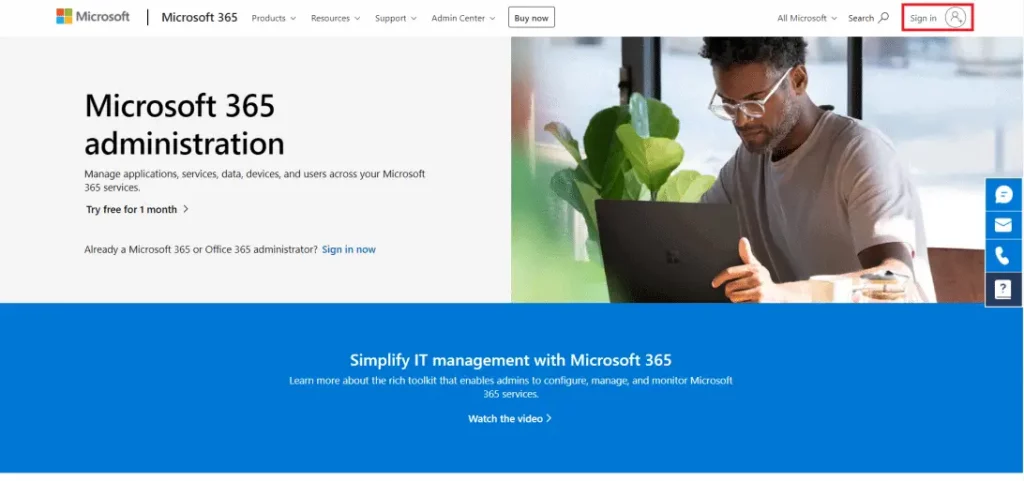
1. Visit the Microsoft Office 365 admin center official website.
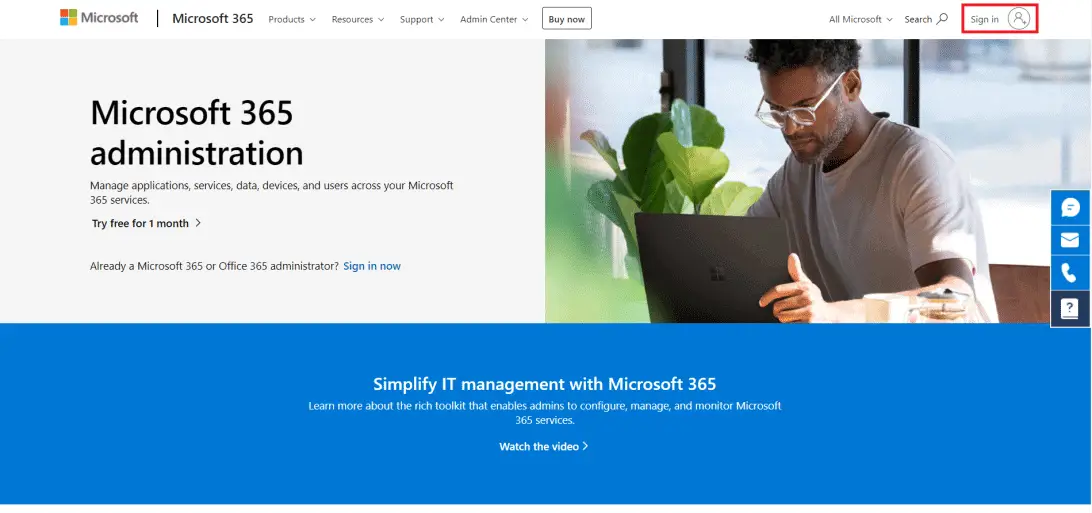
2. Click on the Sign in option located in the upper right corner, as shown.
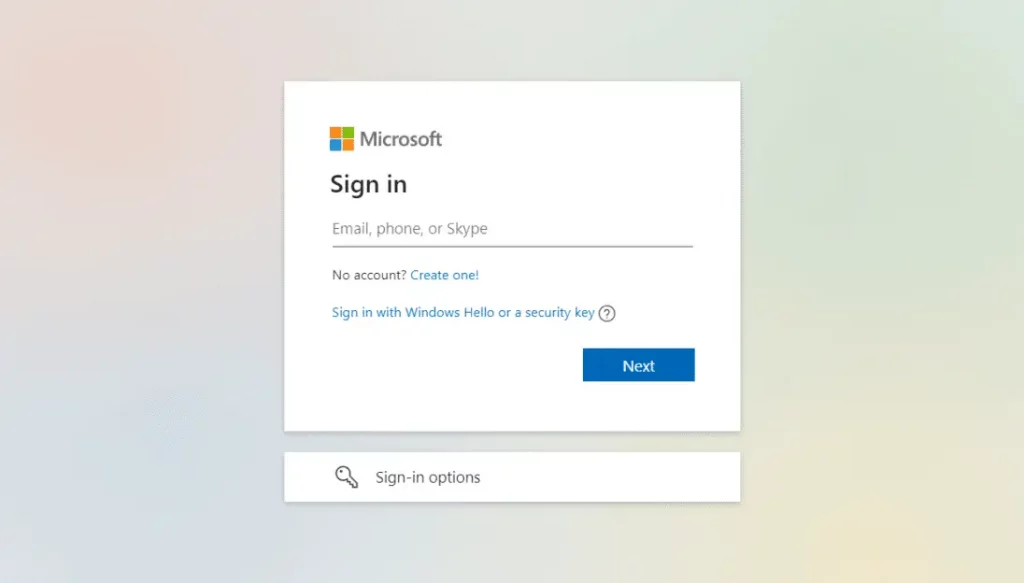
3. Use your Administrator Email account & Password to Sign in to your admin account.
4. Navigate to the Office 365 Admin Center area in the left pane, and click on the Teams icon to access the Microsoft Teams Admin Center.
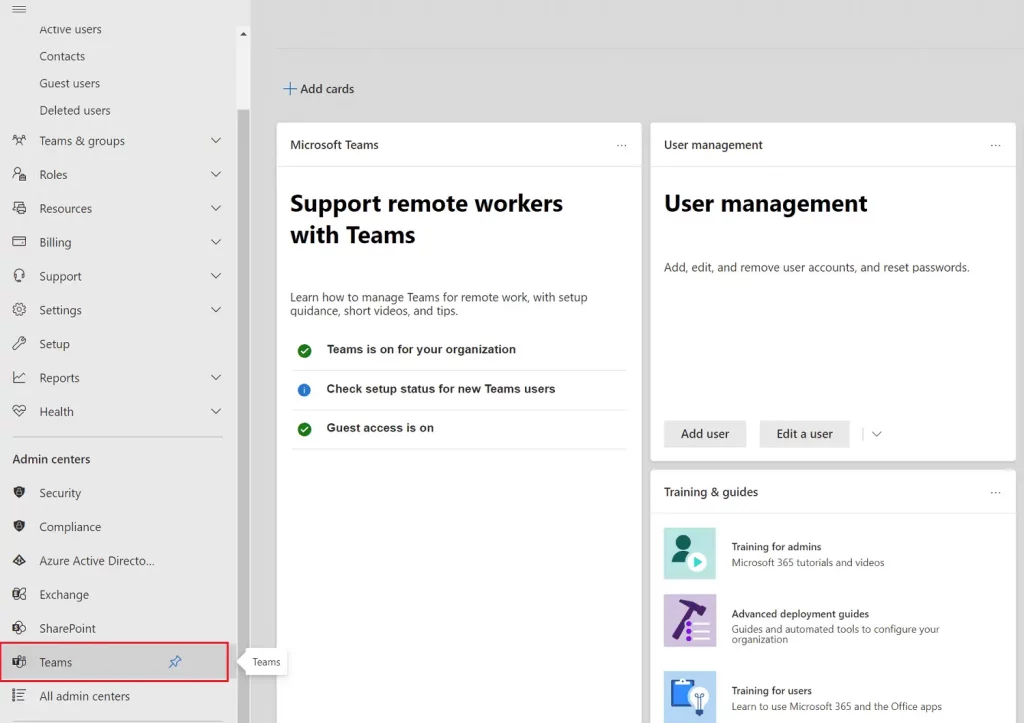
Method 2: Access Teams Admin Center Directly
You don’t need to go through the Microsoft 365 admin center every time to access the Teams admin center. If your Microsoft Teams account isn’t connected to your Microsoft 365 account, you can go directly to the Teams admin center and log in using that account.
1. Go to the official website of the Microsoft Teams admin center.
2. Log in to your account. Once you’re logged in, you’ll be able to access the admin center.
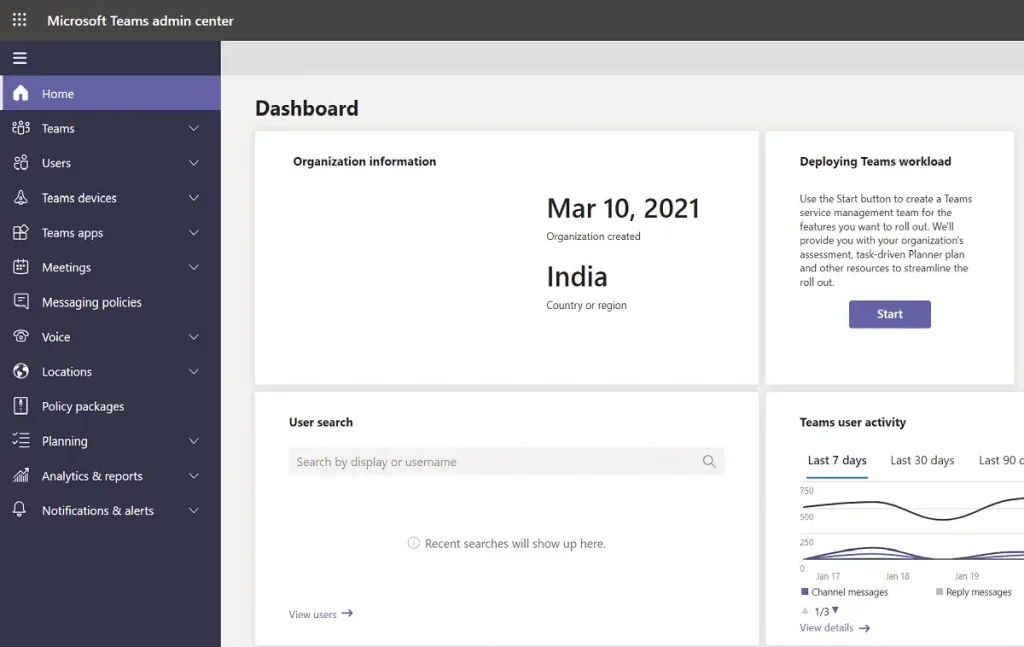
Note: If you encounter the FAILED TO AUTO DISCOVER DOMAIN error while visiting the Microsoft Teams website, it means you’re not logging in with the correct account. In such cases:
- Sign out of your account and then sign back in using the correct account.
- If you’re unsure which account to use, consult your system administrator.
- Alternatively, log in to the Microsoft 365 admin center with the account used to purchase the subscription.
- Find your user account in the list of users, and log in with it.
How to Manage Microsoft Teams Admin Center
In the Microsoft Teams Admin Center, you can manage various features, including the following:
Step 1: Manage Team Templates
Templates in Microsoft Teams are pre-built descriptions of a Team structure tailored to specific business needs or projects. Using Teams templates, you can easily create advanced collaboration spaces with channels dedicated to different themes and pre-installed apps that bring in essential content and services.
For those new to Teams, a predefined structure can be beneficial in getting started. Consistency in areas like channels enhances user experience and encourages user adoption.
How do you get from the admin center to the field?
1. In the admin center, select Team templates, then click on the Add button.
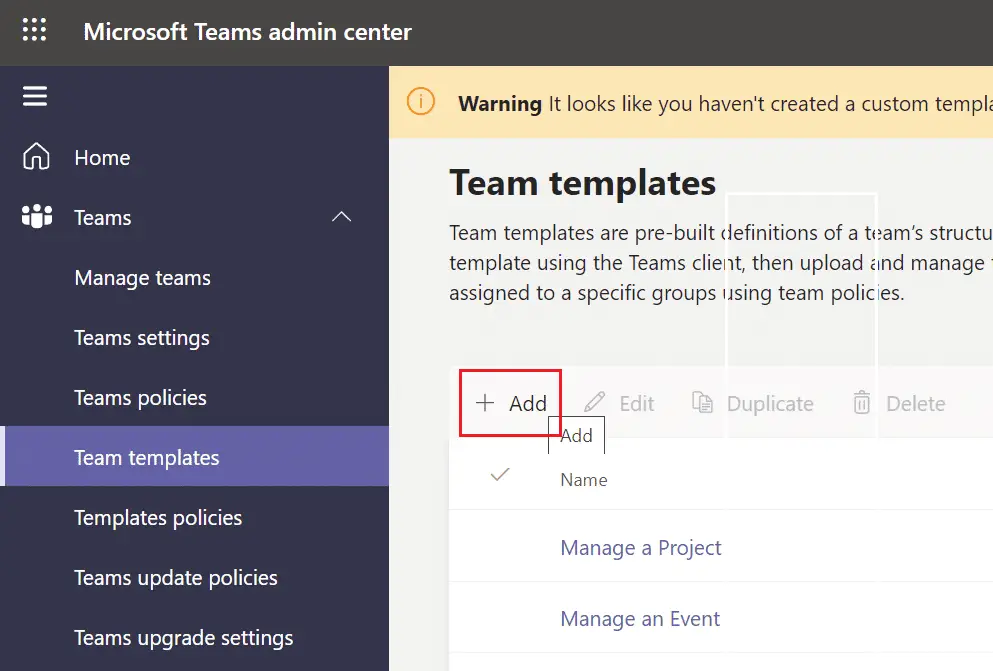
2. Choose to create a new team template and click on Next.
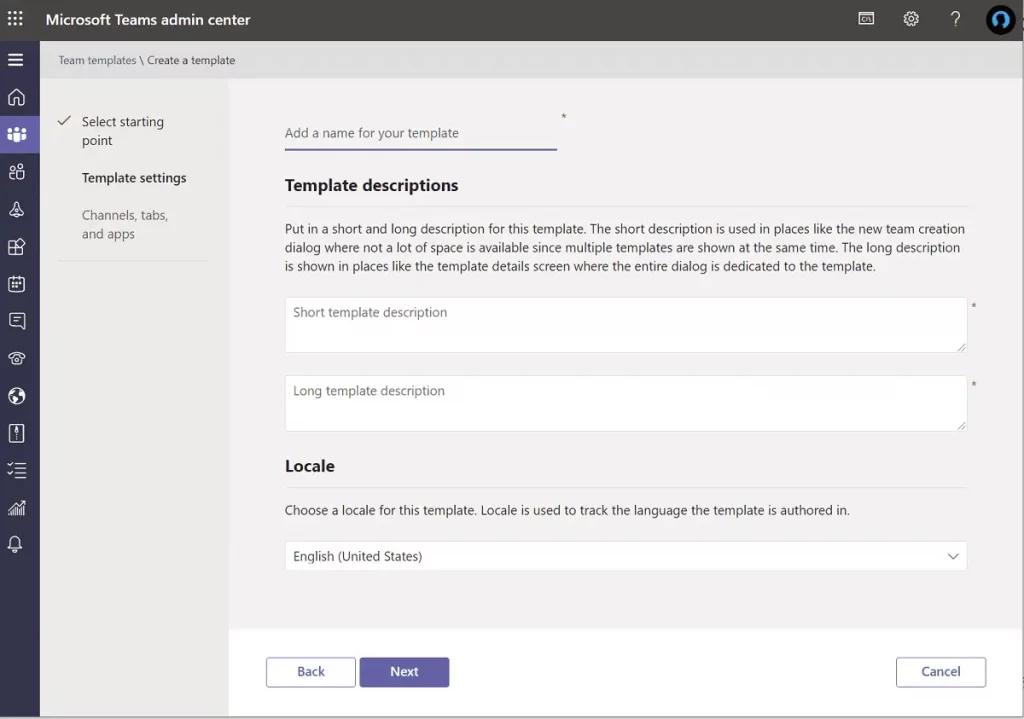
3. Provide a name, a brief and detailed description, and a location for the team.

4. Finally, Join the team and add the channels, tabs, and applications you intend to use.
Step 2: Edit Messaging Policies
Messaging policies in the Teams admin center control the chat and channel messaging features available to owners and users. Many small and medium-sized businesses use the global (org-wide default) policy that is automatically created for them. However, if there’s a business need, such as a custom policy for external users or vendors, you can create and apply custom messaging policies. Unless a custom policy is created and assigned, the global (org-wide default) policy applies to all users in your organization. You can make the following changes:
- Edit global policy settings.
- Create, edit, and assign custom policies.
- Remove custom policies.
Microsoft Teams offers an inline message translation feature that allows users to translate messages into the language set in their preferences. Inline message translation is enabled by default for your organization. If you don’t see this option, it may have been disabled by your organization’s global policy.
Step 3: Manage Apps
When managing apps for your organization, you decide which apps are available to users in the app store. You can integrate data from any of the 750+ apps and use it in Microsoft Teams. However, it’s important to consider whether all these apps are necessary for your organization. You can:
- Enable or restrict specific apps, or
- Add them to specific Teams from the admin center.
One downside is that you must search for an app by name to add it to a Team, and you can only select and add one team at a time.
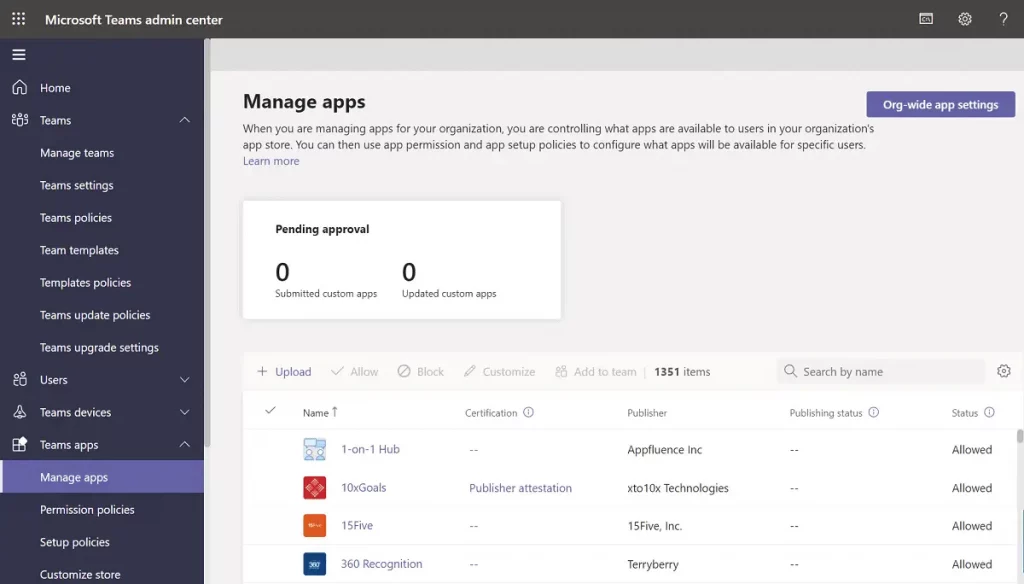
Alternatively, you can customize the global (org-wide) default policy by adding apps you want to be available to your organization’s Teams users. You can make the following changes:
- Allow all apps to be available.
- Allow only certain apps and block the rest.
- Block specific apps while allowing all others.
- Disable all apps.
You can also customize the app store by selecting a logo, logomark, custom background, and text color for your organization. After making these changes, you can preview them before rolling them out to production.
Step 4: Manage External and Guest Access
Before concluding, let’s discuss the external and guest access features in Microsoft Teams. You can enable or disable both options from the org-wide settings. If you’re not familiar with the difference, here’s a brief explanation:
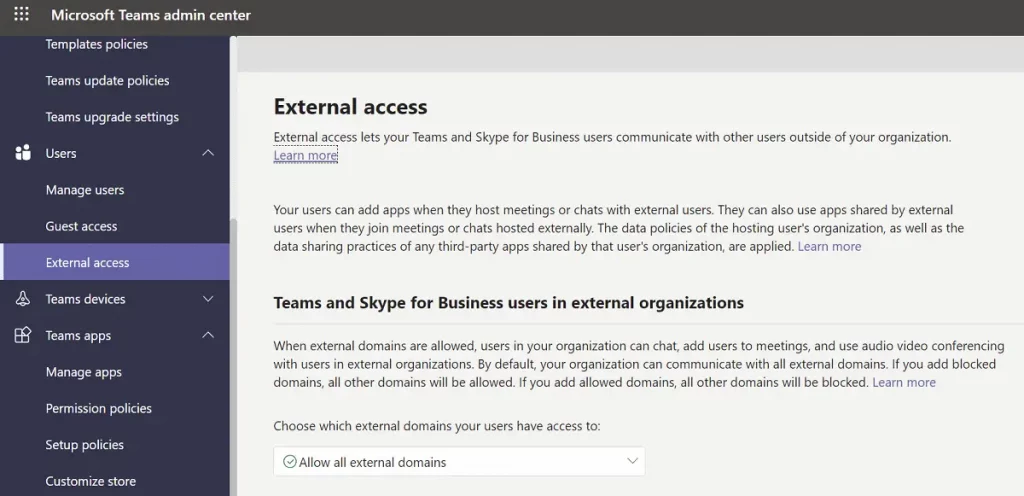
- External access allows your Microsoft Teams and Skype for Business users to communicate with people outside of your organization.
- Guest access allows individuals from outside your organization to join Teams and channels. When you enable guest access, you can specify whether or not visitors are allowed to use certain features.
- You can enable or disable various features & experiences for guest or external users.
- By default, your organization can communicate with any external domain.
- If you block domains, all other domains will be allowed. If you allow domains, all others will be blocked.
Frequently Asked Questions (FAQs)
Q1. What is the procedure for accessing the Microsoft Teams admin center?
Ans. The admin center is available at https://admin.microsoft.com. To have full administrative access, you need to be assigned one of the following roles: Global Administrator or Teams Administrator.
Q2. How can I gain access to the Admin Center?
Ans. Log in to your admin account on the admin.microsoft.com website. Click on the Admin option from the app launcher in the upper-left corner. Only users with Microsoft 365 admin access will see the Admin tile. If you don’t see the tile, you don’t have the required permissions to access your organization’s admin area.
Q3. How can I access my Team settings?
Ans. Click on your profile picture at the top to view or modify your Teams software settings. You can change:
- Your profile picture,
- Status,
- Themes,
- App settings,
- Alerts,
- Language,
- And access keyboard shortcuts.

